
Why Rendering Matters in Product Design and Development
TL;DR
Product rendering makes a design easier to discuss by showing form, materials and context. Use it to answer a specific visual question, record the source revision and separate visual approval from engineering validation.
Product rendering makes a design easier to discuss by turning approved or provisional product information into a controlled image. 3D product rendering helps a team compare visible options, explain a feature and prepare for launch before a finished sample is available.
Each image should record the revision it was made from, the references behind it and the decisions still open. Product renders show how a design looks.
A convincing image does not prove that the product works or is ready for manufacture.
That boundary matters at every stage below. Keep mechanism, material suitability and manufacturing questions with the engineering team, and treat rendering as a communication stage connected to the product evidence.
Start with the review question
Before selecting a camera or finish, name the question the image must answer. A concept review, a technical explanation and a campaign launch need different images, different inputs and different approvers.
The table below is a decision aid, not a mandatory linear procedure. A project may need only one row, or several at once.
| Purpose | Question | Suitable output | Required input | Who approves | Limitation |
|---|---|---|---|---|---|
| Concept direction | Which direction is worth developing? | A labelled exploratory image | Sketches, reference images, rough proportions | Design lead | Details the sketch does not show are interpretation |
| Visible form and CMF review | Does the form, colour, material and finish read as intended? | Matched views of each option | A resolved CAD revision and finish references | Product and design team | A screen cannot replace the physical finish sample |
| Compare visible design options | Which option should go forward? | Consistent views of each option | Each option’s revision, with the changed feature named | Product owner | Keep camera and lighting comparable |
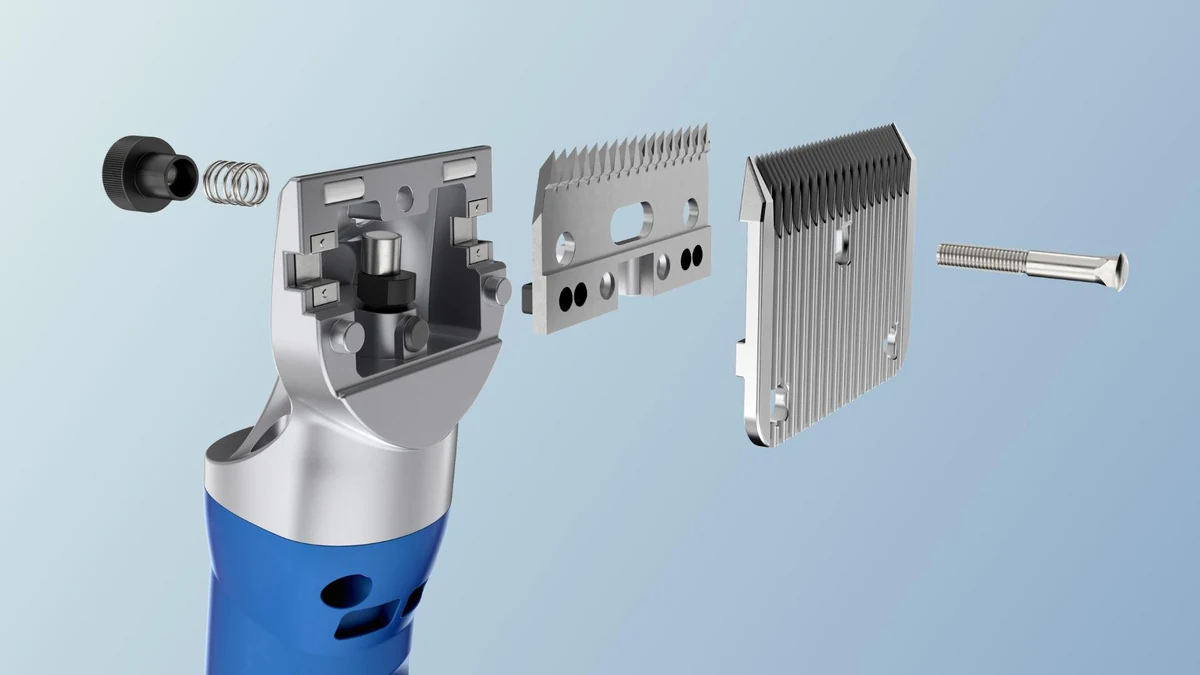
| Explain an assembly | How do the parts relate? | Exploded view or labelled cutaway | Component geometry and their relationships | Product team | Not an approved assembly procedure unless that is checked separately |
| Explain a sequence | What happens, in what order? | Technical animation | Approved movement and sequence information | Engineering owner | Do not invent physical behaviour |
| Pre-tooling communication | Can stakeholders see what is about to be committed? | Product stills from the current CAD | The tooling-intent revision and open questions | Product team | Tooling and manufacturing decisions stay with qualified product teams |
| Pre-launch asset planning | Which images will the launch need? | Directed hero stills and film | Product story, channels, references and launch date | Marketing and creative owner | Development images often need further work before public use |
For example, a reflected highlight can help reveal the curvature of a housing, but it cannot establish the housing’s strength. An exploded view can make the order of components clearer, but it should not imply an approved assembly procedure unless that procedure has been checked.
A matched comparison, step by step
Here is an illustrative example, not an XO3D project outcome. A team is choosing between two housing options for the same product.
Both options are rendered with the same camera, scale, background, lighting and colour-management settings. Only the housing changes. Each image carries a label: the option name, the source revision, the feature that changed and the details not yet confirmed, such as a provisional vent pattern.
The review then records the decision and who made it: “Option B selected for the next revision, approved by the product lead; vent pattern still to be confirmed.”
If finish is the variable instead, hold the geometry and lighting fixed and change only the material, naming the specification or sample each version represents. The comparison helps people see the difference. It does not replace inspecting the physical finish.
Keep the rendering connected to the product revision
Provide the current CAD export or dimensioned drawings and identify the revision. Agree which surfaces, parts and markings need to appear. Missing internal geometry should be recorded as a gap, not filled with plausible-looking detail and presented as fact.
Materials need references too. A finish name alone may leave colour, roughness, coating and transparency unresolved. Use the supplied finish specification, photographs and a physical sample where available. List the assumptions that need confirmation when no sample exists. The Product truth standard explains how reference and review support the final image.
A simple source register keeps this visible. Mark each item approved, provisional or unknown, and name who confirms it.
| Item | Source and revision | Status | Owner | Next check |
|---|---|---|---|---|
| Geometry | CAD export, named revision | Approved, provisional or unknown | Product engineer | Confirm against the latest revision |
| Component relationships | Assembly model or drawings | Approved, provisional or unknown | Product engineer | Check fits and order before an exploded view |
| Finish | Specification, photographs, sample | Approved, provisional or unknown | Design or CMF lead | Compare with the physical sample |
| Graphics and labels | Artwork files, approved text | Approved, provisional or unknown | Brand owner | Check wording and placement |
| Display and UI | Screen designs, current software build | Approved, provisional or unknown | Product or UX owner | Confirm the screens shown are current |
| Intended motion | Movement description, engineering notes | Approved, provisional or unknown | Engineering owner | Review the sequence before animation |
Some gaps can stay visibly provisional in an internal review image, such as a finish still being sampled. Others need a pause before anything goes public, such as an unconfirmed feature or a mechanism nobody has described.
Trace every output to the revision it used, so that when the source changes you can identify the affected views. An artist should never invent unseen mechanisms or product performance to fill a gap.
Review product detail and visual direction separately
First review the visible product: proportions, components, labels and finishes. Then judge the image: composition, lighting, emphasis and its suitability for the audience. Both reviews matter, but approval of one does not automatically approve the other.
A practical way to separate them is in passes. A grey or low-detail pass checks form, scale and key relationships before any finish work.
A matched visual-direction pass then settles camera and light. A material and detail review follows once the form is agreed.
The product team confirms that the product is represented correctly; the creative owner confirms the presentation.
On a larger set, one approved image can establish the direction before the rest are produced. Scope and revision terms are agreed for each project, so this is a way of working rather than a fixed number of rounds.
Record who can approve each stage. If the CAD changes after approval, identify the affected images and sequences, discuss the impact and review the revised features again before continuing. This is especially useful when stills and film share a Master Asset: reuse is valuable only while the underlying product information remains current.
Stills or animation?
A matched pair of stills is often the clearest way to compare two visible alternatives, because the viewer can look from one to the other. An exploded still can show how parts relate without any movement at all.
An animation can explain a sequence or a change over time. The movement, assembly order and interfaces must come from approved product information and be reviewed by the appropriate owner. Visual plausibility is not evidence of safe operation, tested performance or instructions for use. For mechanism-led briefs, see Technical CGI.
Plan the move from development to launch
An internal review image may need further work for a public campaign. Some things carry forward from the source model; others must be checked again: the current revision, geometry, materials, label artwork, interfaces, any product claims, and the camera and crops.
Close-up cameras can reveal missing detail; new crops can change the composition; a film may need separated parts and a reviewed sequence.
The closer the final view, or the more elaborate the environment, the more source detail it may need. Record the impact of any product change before treating an asset as ready for a campaign, and decide the deliverable suite before assuming an existing model is ready for every output.
The product-rendering guide covers product renders for launch in production detail. The pre-manufacture visualisation workflow and the Product truth standard cover the checks in between.
Two projects that show the boundary
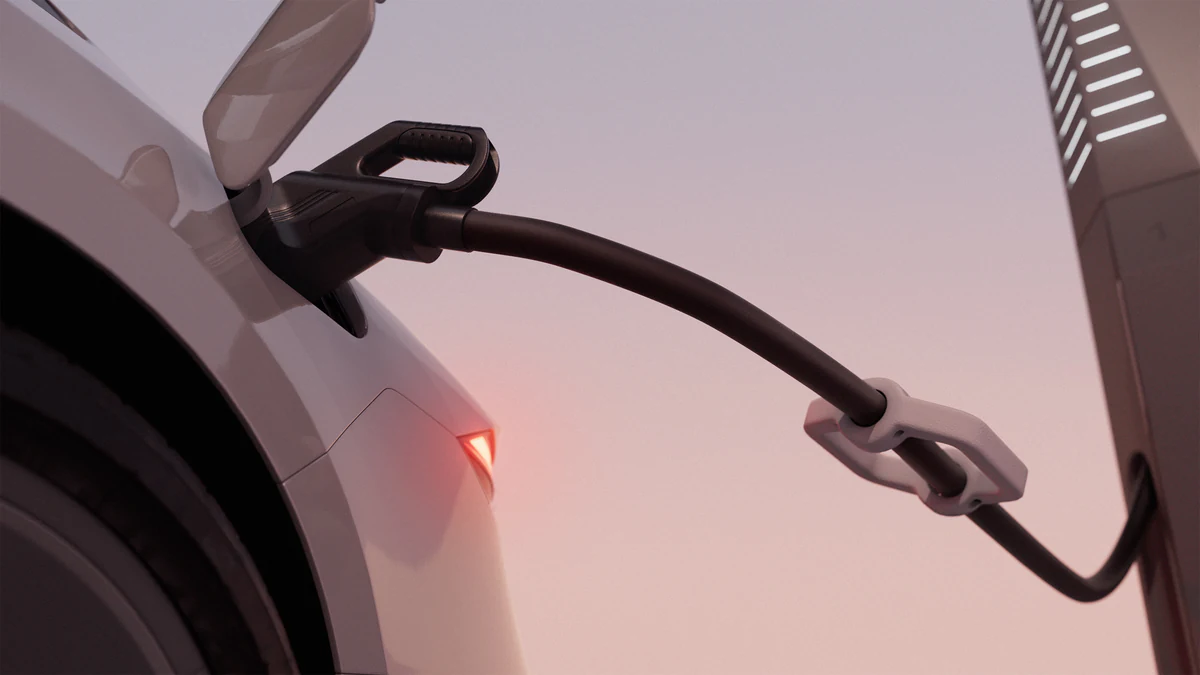
Our Petalite project is a pre-manufacture example. The case study describes XO3D working from evolving CAD for a 1MW EV charging system while the design was still in development, and supplying white-box renders and animation for global stakeholders.
It is a communication and launch example. It does not show that a render caused a particular engineering change.
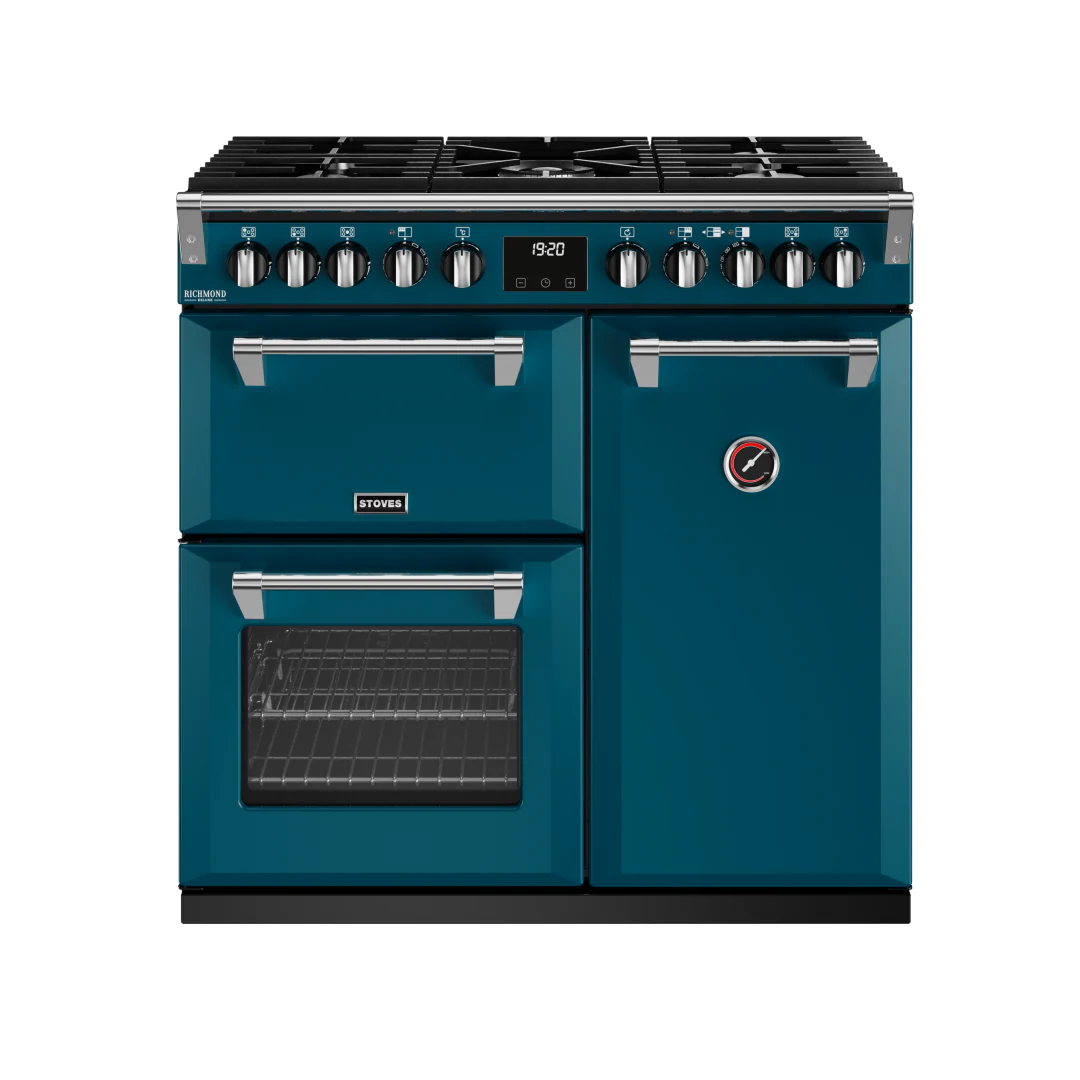
The Duux Neo project shows what happens when the product moves. The case study reports a manufacturing and design change halfway through delivery, while modelling and lighting were well under way, and a complete pre-launch CGI suite at the end. Read it within that scope: it describes how the change was handled, not a measured saving.
What to put in the brief
A brief can be incomplete, as long as the missing information is labelled. An example:
- Product stage: concept, development or pre-launch.
- Audience: who will see the images.
- Decision: one sentence, such as “choose between two housing options”.
- Source: CAD or drawings, with the revision.
- Finish references: specifications, photographs or samples.
- Known unknowns: anything not yet decided.
- Views needed: angles, close-ups, exploded or cutaway.
- Channels: internal review, website, retail, social.
- Date: when the decision or launch happens.
- Reviewers: the named product reviewer and creative reviewer.
Tell us about your brief when you need to turn those inputs into a directed product story.
Start the conversation
Have a product worth showing?
We reply to every brief personally, usually within one working day.
FAQ
Common questions, answered.
What is product rendering in product design?
Product rendering in product design is a controlled image made from provisional or approved product information, usually CAD and finish references. Product renders help a team discuss visible form, materials and features before a finished sample exists. They do not show that the product works or is ready for manufacture.
What does rendering add to a product design review?
Rendering shows the visible form, materials and context of a design in a way that a wider audience can discuss. The review should identify the decision being made and the source revision used.
Does a realistic render prove that a product will work?
No. A render communicates appearance. Engineering calculations, simulation, testing and product-team approval remain separate activities, and any result shown visually needs its own evidence.
Can product rendering start before manufacturing?
Yes, where the geometry and references are sufficiently resolved. Record provisional details and agree how final images will be checked when the product or sample changes.
Is a sketch enough to start product rendering?
A sketch can support an exploratory image, as long as the image is labelled as an interpretation. The artist has to decide proportions and details the sketch does not show, so a resolved CAD revision gives a more faithful review image.
How should we compare finishes in renders?
Keep the geometry, camera, lighting and background the same and change only the finish. Name the material specification or sample each version represents. Screens and lighting affect how a finish looks, so colour-critical approval still needs the physical sample.
What happens when the CAD changes after an image is approved?
Identify which views and sequences show the changed features, agree the impact, then review those features again. An earlier approval covers the revision it was made from, not the new one.
Start the conversation
Got a product worth showing? Let’s talk about what it needs to do.
We reply to every brief personally, usually within one working day.